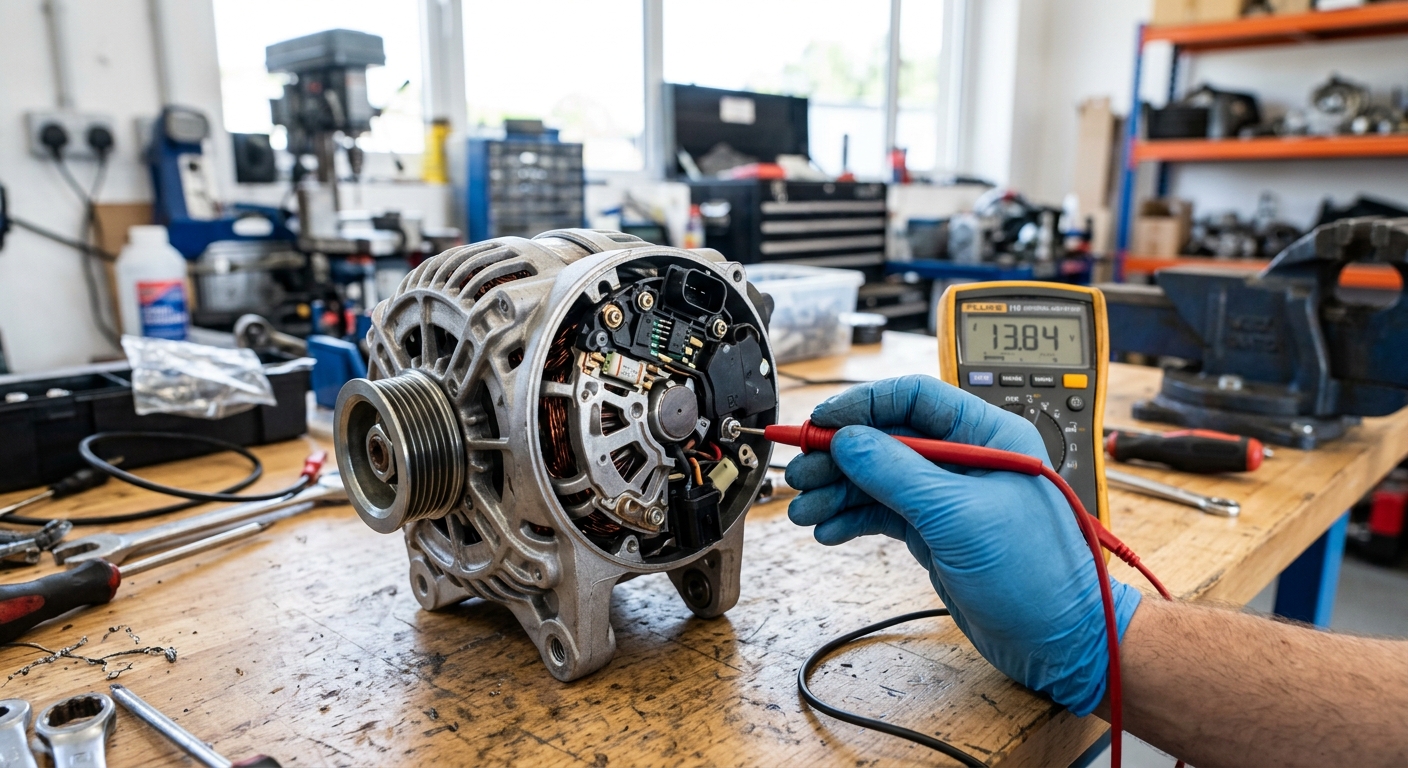
A failing voltage regulator shows up as either overcharging (13.5V+ battery, bulbs blowing, battery boiling dry) or undercharging (voltage below 13V, dim lights, dead battery), and the fastest way to confirm it is a simple multimeter test at the battery terminals with the engine running at idle and at 2,000 RPM. If readings sit outside the 13.5V–14.8V range consistently, the regulator — not necessarily the whole alternator — is usually the culprit. Getting this diagnosis right before ordering a replacement part saves a lot of wasted freight and warranty headaches for wholesale buyers.
What the Voltage Regulator Actually Controls
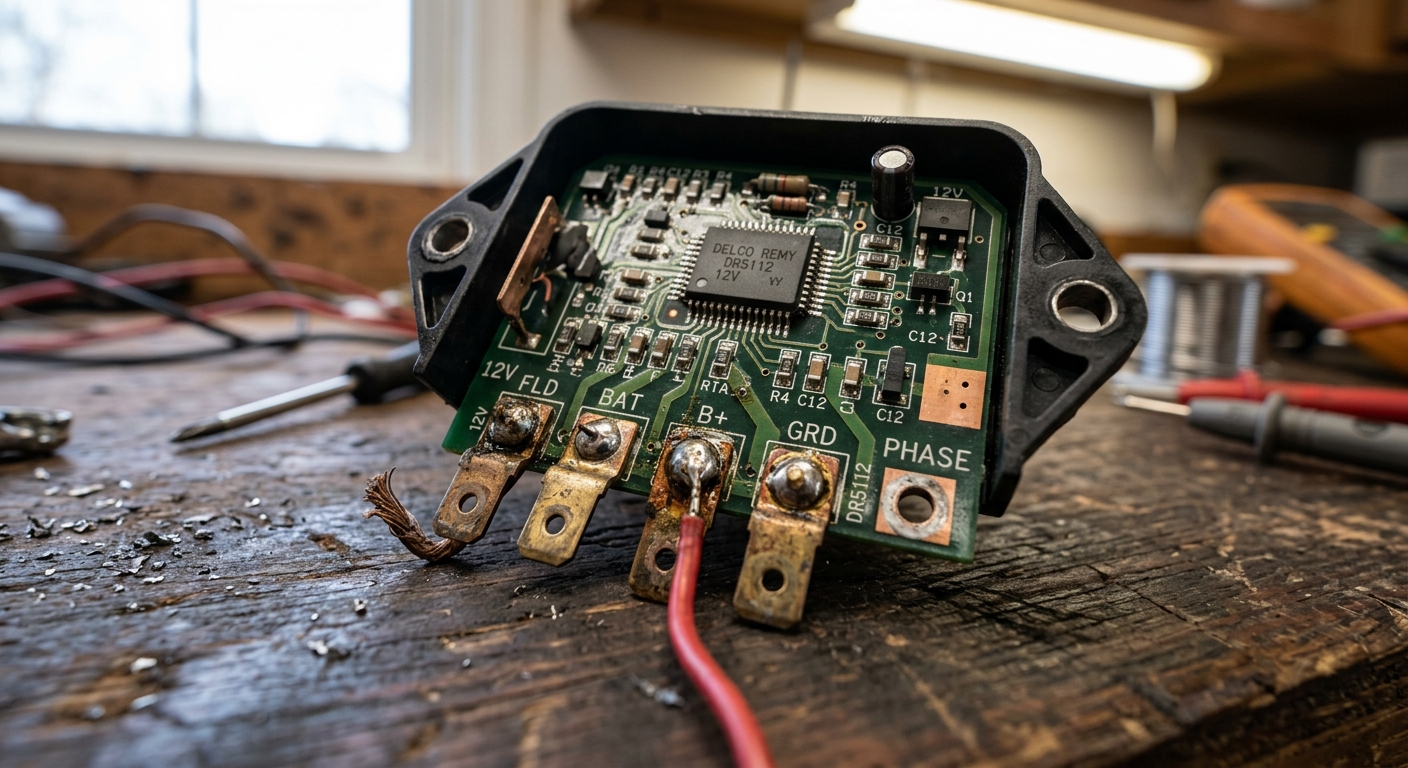
Here’s a mistake we see constantly: someone replaces the whole alternator when only the regulator inside it has failed. On most modern alternators, the regulator is a small integrated module bolted onto the back housing, not a standalone box under the hood like on 1980s vehicles. It controls field current to the rotor, which in turn controls output voltage — keep it in the 13.5V–14.8V window regardless of engine speed or electrical load.
When that module degrades, it either lets voltage run too high (overcharging) or can’t push it high enough (undercharging). Either failure mode damages other components over time — cooked batteries, fried ECUs, or blown bulbs are all downstream symptoms of a regulator that’s already gone bad weeks earlier.
Overcharging Symptoms: The Silent Battery Killer
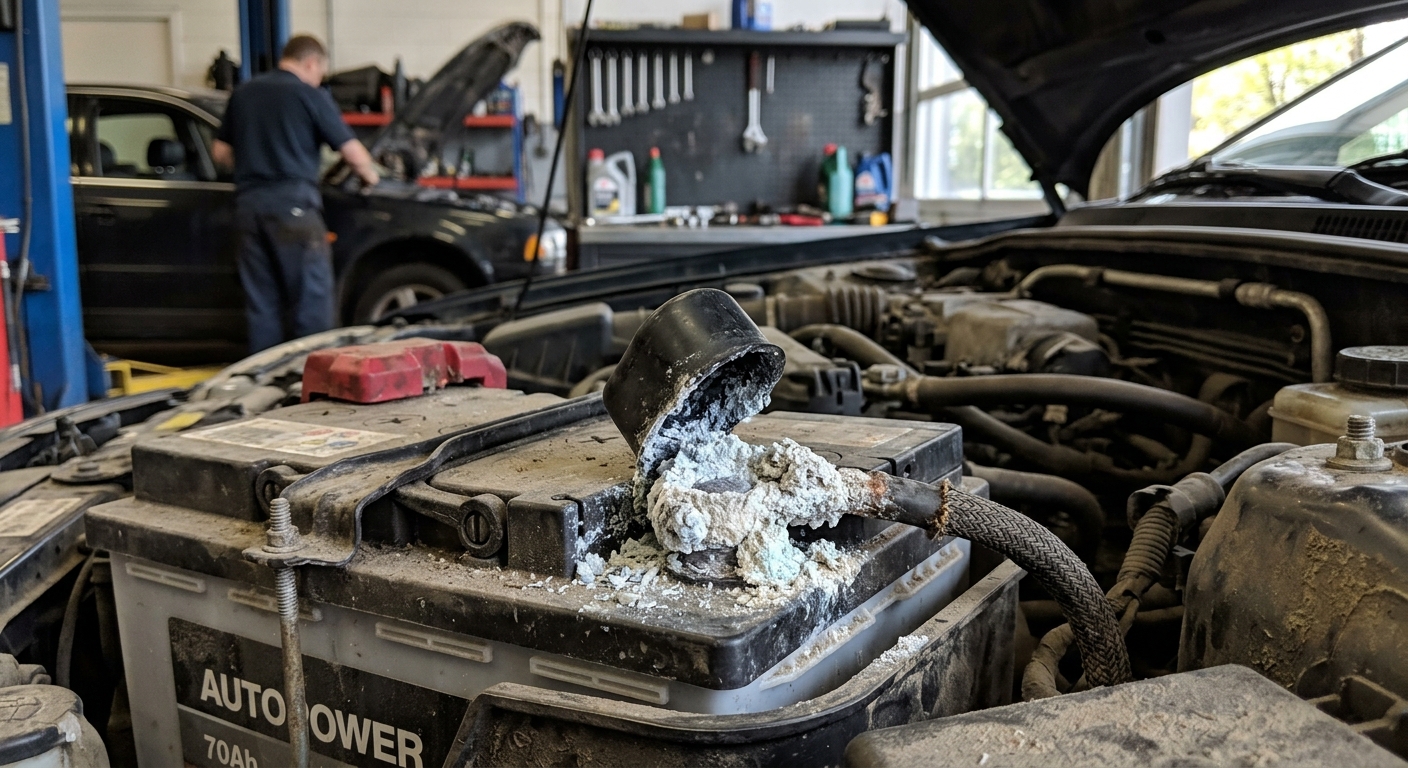
If a battery is boiling electrolyte out of its vents within a few months of being installed, suspect the regulator before blaming the battery. Overcharging pushes system voltage above 15V, sometimes as high as 17V-18V in extreme failures, and that excess voltage cooks the battery internally and shortens bulb and sensor life across the vehicle.
What to look for
- Headlights unusually bright, especially noticeable right after startup
- A sulfur or rotten-egg smell near the battery (overcharged lead-acid batteries off-gas)
- Battery case feels warm or swollen
- Interior electronics flickering or resetting randomly
For fleet buyers, this pattern is expensive precisely because it hides — a truck might go through two batteries before anyone connects the dots to a bad regulator.
Undercharging Symptoms: The Slow Drain
Undercharging is the more common complaint we hear from repair shops, and it’s easy to misread as ‘a weak battery’ or ‘a bad alternator’ when the regulator is actually the root cause. If system voltage sits at 12.2V–13.0V with the engine running, the regulator isn’t commanding enough field current to keep up with electrical demand.
Real-world example
A regional fleet maintenance buyer we worked with had three delivery vans coming back with dead batteries every few days — batteries tested fine on a bench charger, alternators tested fine off the vehicle. The issue turned out to be a regulator that worked fine at idle but dropped output under load once headlights, AC, and radio were all running simultaneously. Swapping the regulator (inside a generator assembly unit) solved it in all three vans without touching the batteries.
- Dashboard battery warning light on intermittently
- Dim headlights that get dimmer at idle, brighter revving up
- Slow power windows or seat adjustments
- Battery reads fully charged off the vehicle but dies again fast once reinstalled

Step-by-Step: Testing the Voltage Regulator with a Multimeter
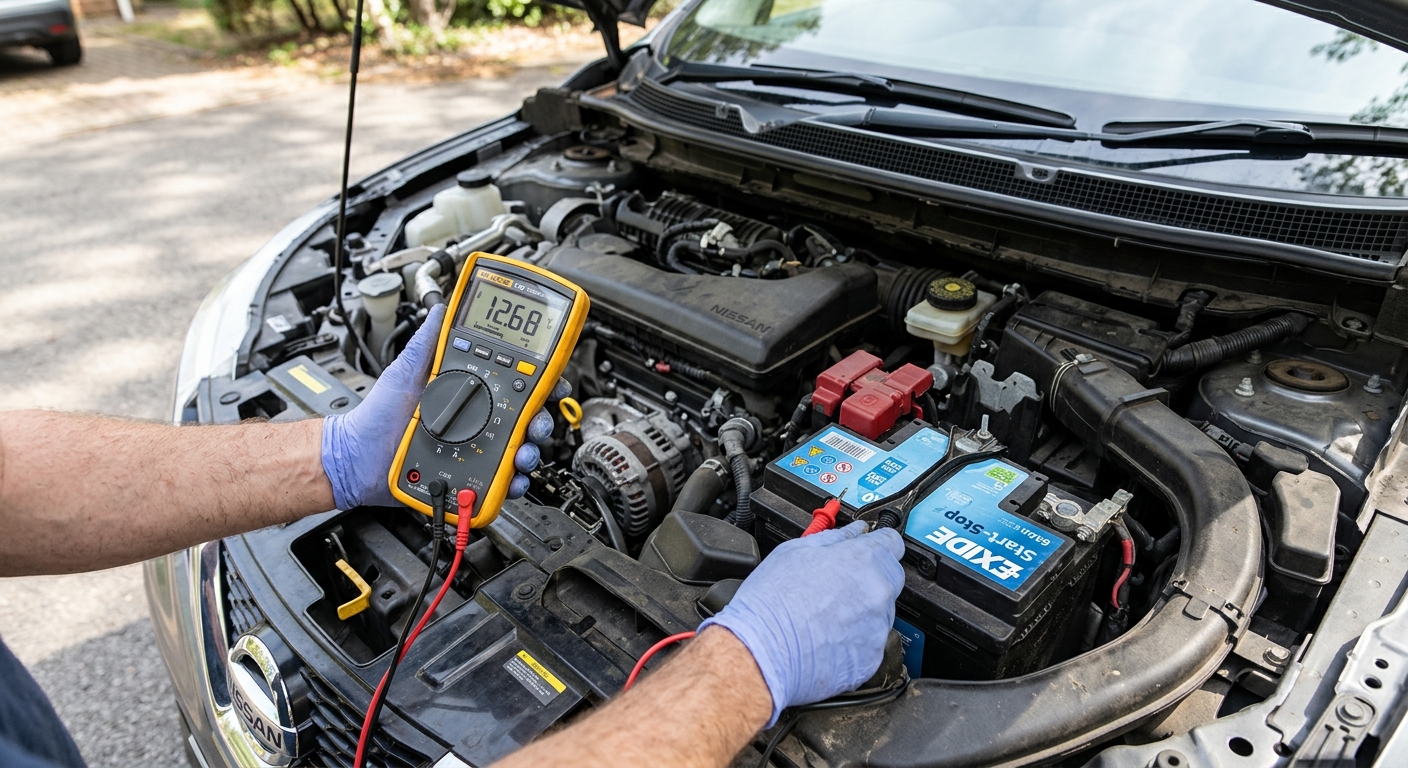
You don’t need a bench tester to get a solid first read on regulator health — a $20 multimeter and 10 minutes will tell you most of what you need to know.
Basic test procedure
- Step 1: With the engine off, set the multimeter to DC volts and measure across the battery terminals. A healthy battery reads 12.4V–12.7V at rest.
- Step 2: Start the engine and let it idle. Measure again — you want to see 13.5V–14.8V. Below 13.5V suggests undercharging; above 14.8V suggests overcharging.
- Step 3: Rev the engine to about 2,000 RPM and turn on headlights, AC, and rear defroster to load the system. Voltage should stay within the same 13.5V–14.8V range — a healthy regulator compensates for load.
- Step 4: Watch for fluctuation. If the needle (or digital reading) jumps around erratically rather than holding steady, that’s a classic sign of a regulator with worn or intermittent internal contacts.
Ripple test for diode and regulator issues
Switch the multimeter to AC volts while the engine runs. A healthy charging system shows less than 0.5V AC ripple. Anything above that points to failing diodes or a regulator not smoothing output correctly — worth checking alongside our broader alternator diagnostic guide if you’re not sure whether the fault is regulator-specific or a wider alternator issue.
Regulator Failure vs. Other Charging System Problems
Not every charging fault is the regulator. Loose belt tension, corroded ground straps, and worn brushes on the alternator itself can all produce similar symptoms — dim lights, low voltage, intermittent charging. Before condemning the regulator, rule out the cheap stuff first: check belt tightness, clean and re-torque ground connections, and inspect wiring harness connectors for corrosion.
If those check out clean and voltage readings still fall outside spec, the regulator (or the alternator’s internal brushes/diodes it works alongside) is the likely culprit. It’s also worth reading our comparison on the difference between starter and alternator symptoms — a weak crank is often mistaken for a charging issue when it’s actually a starter problem, and vice versa.
Repair vs. Replace: What Wholesale Buyers Should Consider
On older or entry-level alternators, the regulator is a separately replaceable module and swapping just that part can be the cheaper fix. On many newer integrated units, though, the regulator is molded or riveted into the housing and not practically field-serviceable — replacing the whole alternator (new or rebuilt) ends up being the more reliable path.
For distributors and repair shop supply chains stocking inventory, this is exactly where rebuilt alternators earn their reputation — a quality remanufacturer replaces the regulator, brushes, bearings, and diodes as a matched set, rather than gambling on one worn component while leaving others untested. Our earlier piece on rebuilt alternator remanufacturing and quality checks covers exactly what a reputable rebuild process should test before it ships.
Common Testing Mistakes to Avoid
A surprisingly common error: testing voltage with accessories off and engine barely idling, then declaring the system ‘fine.’ Regulators can pass a no-load test and still fail under real driving conditions — always load-test with headlights, AC, and defroster running before signing off.
- Testing with a weak or partially charged battery, which skews voltage readings low even with a healthy regulator
- Ignoring AC ripple voltage, which can hide diode-related regulator confusion
- Confusing a slipping serpentine belt (intermittent charging due to slip) with regulator failure — check belt tension first
- Not retesting after warm-up; some regulators fail only once internal components heat up over 20-30 minutes of driving